Vibe coding tutorial: Build your first app with Claude Code

 Ekene Eze
If you’ve been coding for a while, you’re probably already using AI here and there, debugging, scaffolding, or exploring unfamiliar code. But using it as a helper is very different from actually building with it.
That shift can feel uncomfortable. You’re used to writing the code, step by step, and staying in full control. This guide shows you how to work differently without losing that control. You’ll “vibe code” a simple CLI task manager using Claude Code, working directly from your terminal and shaping the app through prompts instead of piecing things together from multiple sources.
Expect to spend around 30 to 45 minutes if you follow along. By the end, you'll have a finished app on your machine and a repeatable workflow you can use for any project.
TL;DR
How to set up Claude Code for fun and engaging projects
Configuring a
CLAUDE.mdfile for project contextBuilding a CLI task manager (add, list, complete, delete) using Claude Plan Mode
Handling errors and recovering from mistakes
Running tests and optionally deploying your app
Before building the task manager application, let’s quickly discuss what exactly vibe coding entails.
Introduction to AI-powered vibe coding
Vibe coding is changing how people build entire applications by enabling them to write software with natural-language prompts rather than traditional programming languages. With vibe coding, you do not need to be a seasoned developer to bring your ideas to life. Anyone can start building apps, whether you are a non-coder, a beginner, or an experienced developer who wants to move faster.
The core idea behind vibe coding is simple. You describe what you want your app to do in plain English, and AI-powered tools perform the code generation and handle most of the implementation. This approach removes a large part of the learning curve associated with traditional programming, making software creation more accessible than ever.
With that covered, let’s walk through how to use Claude Code to build the application.
Prerequisites
Before installing anything, confirm that you have the following:
A Claude account with Pro, Max, or API access. The free tier does not include Claude Code, so you’ll need to upgrade.
Node.js v18 or higher. Run
node --versionto check. If you're below v18, grab the latest LTS version.npmornpxavailable. Both come with Node.js, so if Node is installed, you're covered.Git installed. Run
git --versionto confirm.A terminal you're comfortable with. macOS Terminal, iTerm2, or any Linux shell works perfectly.
Windows users: Claude Code works best through WSL2 (Windows Subsystem for Linux). If you haven't set that up yet, Microsoft's WSL installation guide will get you there in minutes.
Step 1: Install Claude Code
To install Claude Code, open a terminal and run the command below:
You should see output similar to this:
Next, authenticate your account. Start a session by running:
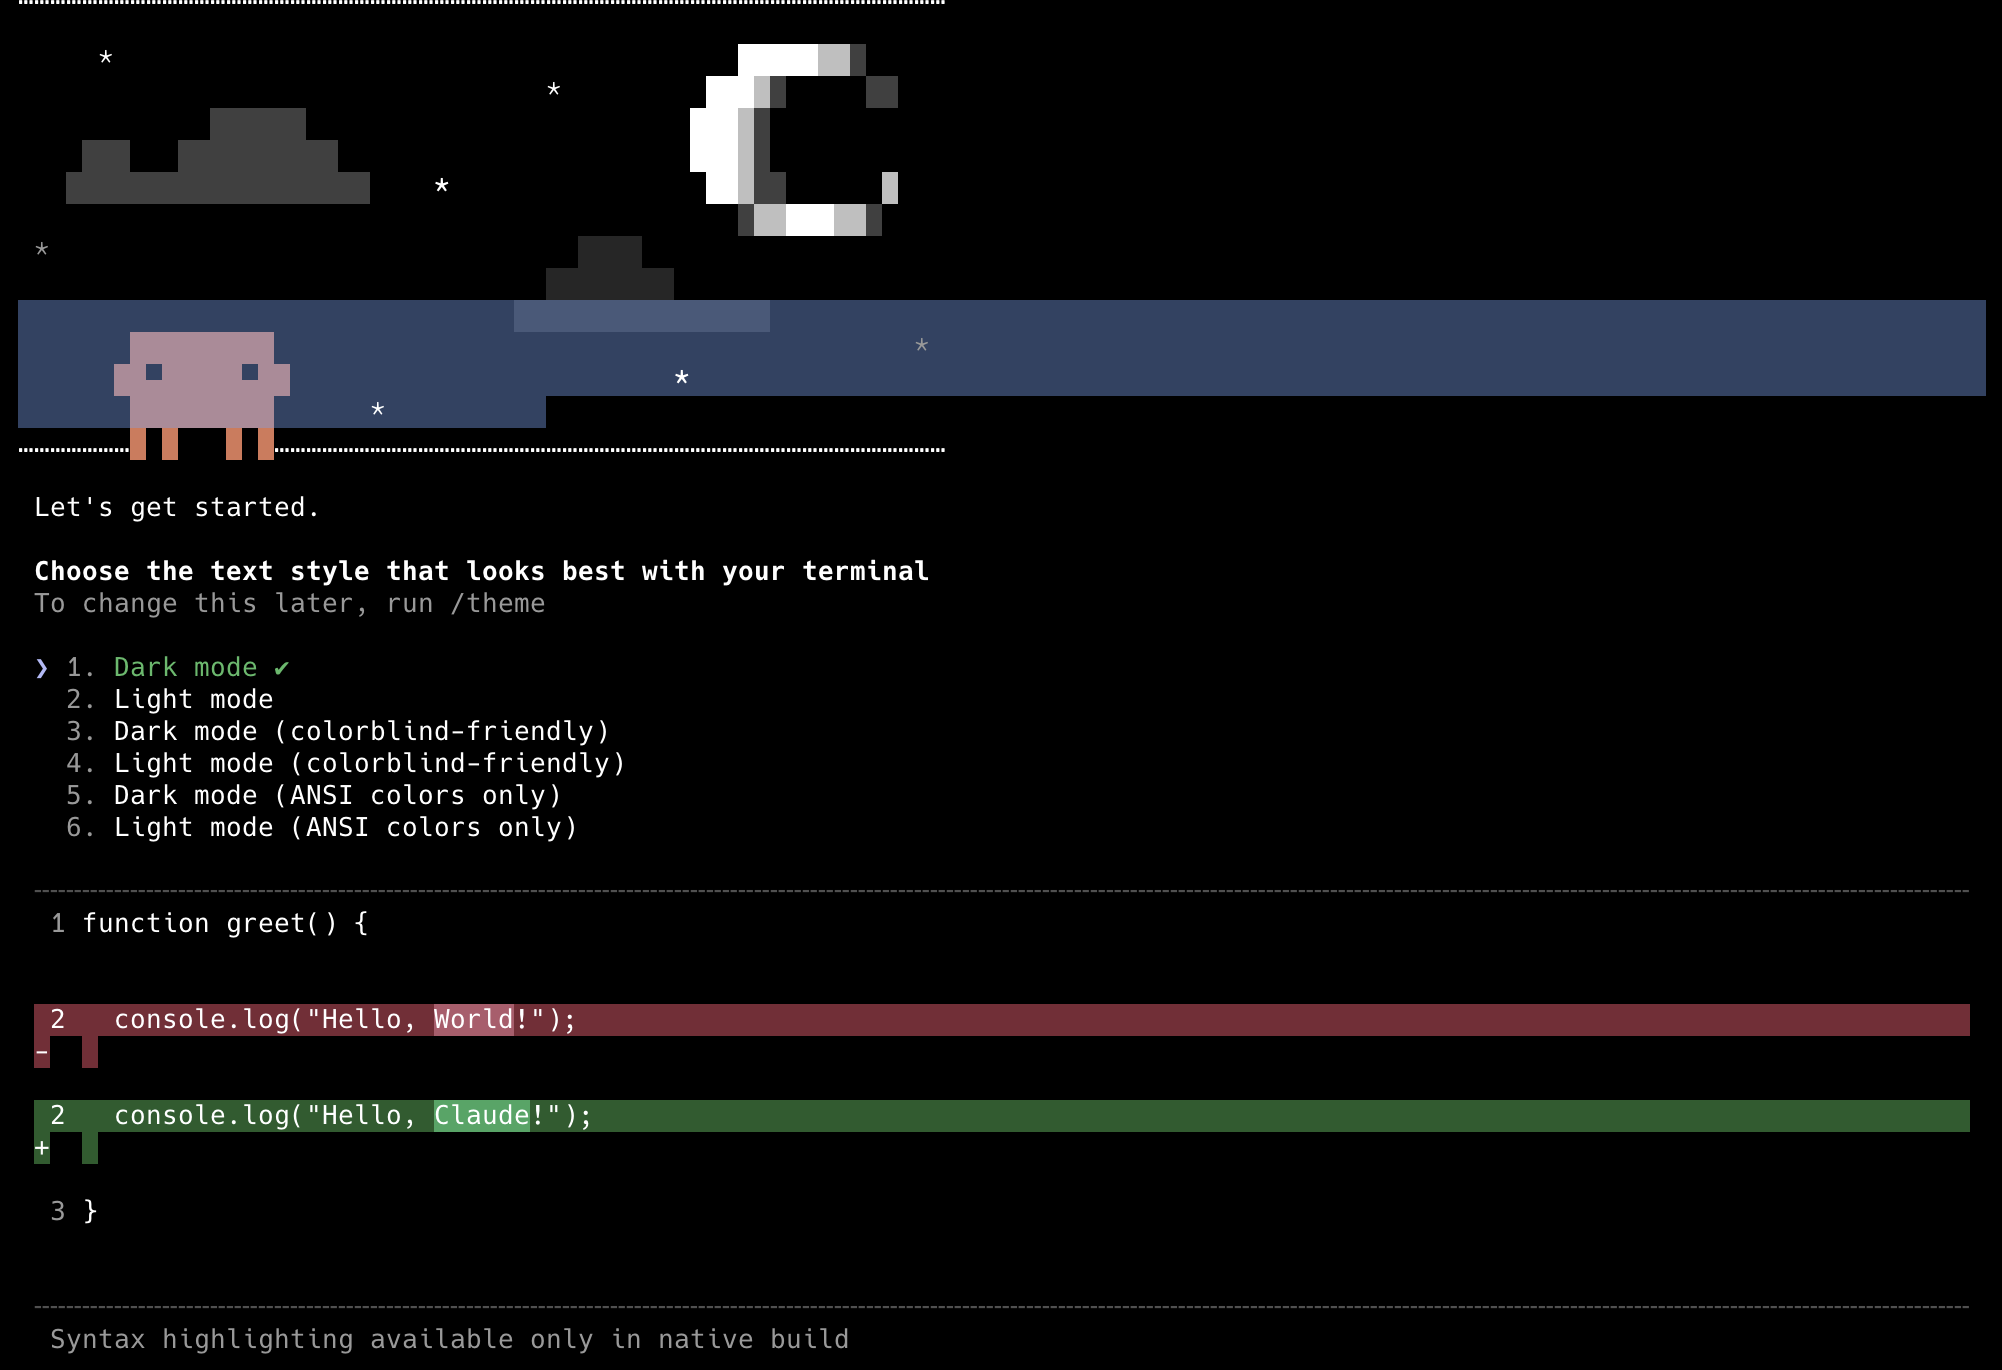
The first time you run it, Claude Code will ask you to choose a theme. Use the Up and Down arrow keys to navigate between options, then press Enter to confirm your choice.
Next, select Claude account with subscription · Pro, Max, Team, or Enterprise as the login method. Claude will open your web browser so you can log in and authorize the connection. After authentication, it returns you to the terminal automatically.
Behind the scenes, your session credentials are stored locally so you won't need to log in again.
With that done, you can confirm Claude Code is working by typing the prompt below:
You should receive a response similar to this:
The exact model name may vary depending on your plan. What matters is that you got a response. Type /exit to close the session and move on.
Step 2: Create your project folder
To do this, run the following commands in your terminal:
These commands create a task-manager directory, move you into it, and initialize a Git repository.
You should see something similar to this in your terminal:
It’s a good idea to start with Git early because Claude Code uses your Git history and .gitignore as part of the project context. When Git is already set up, Claude has more signals about how the project is structured and what files belong in the repository. It also gives you a safety net if something goes wrong during development.
What we’re building
You will build a command-line task manager that lets you add tasks, list them, mark them as complete, and delete them. The data lives in a simple tasks.json file, so tasks persist between runs. The app will be written in TypeScript with Node.js.
By the end, your project structure will look like this:
The project will support commands like add, list, complete, and delete.
Step 3: Set up your CLAUDE.md file
The CLAUDE.md file is a simple markdown document that Claude reads at the start of every session. It tells Claude what the project is about, how it works, and what rules to follow while generating code.
Without it, every session starts from scratch. Claude has no context about what you built previously, the conventions you prefer, or what the project is supposed to do.
The file works similarly to a briefing document you would give a new team member on their first day. The more specific it is, the less time you spend repeating instructions.
How to create a CLAUDE.md file
Start a Claude session inside your project directory:
Then run:
This command scans your directory to analyze the file structure, technology stack, and codebase. It then generates a CLAUDE.md file so Claude understands your coding conventions, build commands, and project structure without manual setup.
For a brand new project like this, there isn’t much for Claude to infer yet. Still, the command sets up the right format, and you’ll add more details shortly.
Claude may ask for permission to run shell commands when you enter a prompt. Select Yes to allow Claude to run the command.
Next, replace the generated content in the CLAUDE.md file with the content below:
Save the file. From this point forward, every Claude Code session in this directory will start with this context loaded.
What makes a good CLAUDE.md
A good CLAUDE.md file gives Claude enough context to generate accurate code without needing you to repeat instructions every session. Every solid CLAUDE.md covers three main things:
Project description: Start with a short explanation of what the project does. Describe the purpose of the application, its main features, and the problem it solves.
Tech stack and run commands: List the technologies used in the project and how to run the code locally. This usually includes the programming languages, frameworks, databases, and key tools used in the project.
You should also include commands for installing dependencies, running the project locally, executing tests, and building the project.Conventions and rules: This section documents how the codebase should behave. Include things like coding style, folder structure, naming conventions, testing expectations, and architectural patterns.
You can also add guardrails such as:Files that should never be deleted
Rules about adding new dependencies
Requirements like input validation for API handlers
Step 4: Use Plan Mode before every feature
One of the easiest ways to get better results from Claude Code is to start with planning instead of jumping straight into code. Plan Mode helps the agent think through the problem, understand the codebase, and outline the steps before touching any files.
It may feel slower at first, but in practice, it saves time by reducing rewrites and incorrect implementations.
How to enter Plan Mode
In Claude Code, you can switch to plan mode by pressing Shift + Tab twice to cycle into it. You can also enter plan mode by using the /plan slash command. You’ll see ⏸ plan mode on in the terminal, which indicates that it’s active.
Another way to get Claude Code to start with planning before making changes is to prompt it with something like:
“Create a plan for implementing this feature.”
“Analyze the repository and propose an implementation plan.”
“Outline the steps before writing any code.”
This tells the agent to inspect the project structure, review the relevant files, and propose a clear implementation approach first.
Step 5: Building the task manager app
We’ll build the app one prompt at a time. Each step follows the same pattern and builds cleanly on the previous one.
Prompt 1: Scaffold the project
This step sets the architectural foundation for your project. It’s important to get this right because the rest of the application will build on it. To get started, paste the prompt below into Claude Code:
After you enter the prompt, Claude will generate an implementation plan. The plan usually includes the steps it will take, the files it will create, and how to verify the setup.
Claude will also ask which permission type you want to use before proceeding. Select option YES to start the implementation.
Note: You can edit the implementation plan if you want to adjust what Claude Code generated.
After the implementation, Claude creates a package.json with ts-node and typescript as development dependencies, a tsconfig.json with strict mode enabled, and an index.ts file with a switch statement that routes commands to placeholder functions.
To verify this, check that your index.ts file looks similar to the snippet below:
Also, confirm that tsconfig.json contains "strict": true so TypeScript can catch type errors early.
Prompt 2: Implement the add feature
One of the functions of the task manager application is to be able to add tasks. To do this, enter the prompt below:
Notice the level of detail in these prompts. Good prompts define the expected behavior, the files involved, and the constraints. The more specific you are, the fewer corrections you'll need.
Claude will create a tasks.ts file with readTasks and writeTasks utility functions that the addTask function uses when creating a task. It will also update index.ts so the add command calls the new function.
You can verify that this works by running the command below in your terminal:
This creates a task.json file to save the task.
Prompt 3: Implement the list command
To list the available tasks, run the prompt below:
You can verify this with the command below:
Your terminal output should look similar to this:
Prompt 4: Implement complete and delete
To add support for completing and deleting tasks, run the prompt below:
Claude will add completeTask and deleteTask functions and update the routing logic in index.ts.
You can verify the commands by running:
Prompt 5: Add error handling and a help message When building software, you still need to handle edge cases. Users may run commands incorrectly, forget required arguments, or enter values that don’t exist. Good error handling helps the application respond clearly instead of failing silently.
To add these safeguards, run the prompt below:
You can verify this by running:
At this point, your app is functionally complete.
Step 6: What to do when things go wrong with Claude Code
As powerful as Claude Code is, things can still go sideways. Knowing how to recover when this happens is just as important as knowing how to write good prompts.
Interrupt Claude mid-run
Sometimes Claude starts heading in the wrong direction. It might create extra files, restructure something you did not ask it to touch, or run a command you did not intend.
Stop it immediately by pressing the esc key. This halts the process, shows what it has done so far, and waits for your next instruction.
Do not hesitate to stop it if it starts drifting. It is much easier to correct things from that point than to wait for it to finish and undo a larger set of changes.
Undo with /rewind
In some cases, a simple correction is not enough, especially when Claude has modified several interconnected files.
Use the /rewind command to step back to an earlier point in the conversation. This restores the project to a previous state so you can try a different approach.
Give corrective prompts
When the output is not exactly what you wanted, but nothing is seriously broken, a targeted corrective prompt is usually faster than rewinding.
Be specific about what is wrong and clearly state what should not change. For example, you might tell Claude to update one function while leaving the rest of the file untouched.
Manage context with /clear and /compact
As a session grows longer, Claude’s context window gradually fills up. Two commands help manage this:
/clear: This wipes the conversation completely. Use it when you finish one feature and want to start another without older context influencing the next task./compact: This summarizes the conversation into a shorter form while keeping key decisions and context. Use it when Claude warns that the context is getting long or when responses start drifting.
MCP server integration: New features
Although we did not use this while building our application, MCP server integration is one of the key features of modern vibe coding tools and helps Claude Code act more like a pair programmer. It allows users to connect their apps to a wide range of external data sources and services.
For example, with a GitHub MCP server, Claude Code can read your repo, review pull requests, and suggest fixes based on actual project context instead of guesses.
This turns it from a prompt-based assistant into something closer to a real coding partner.
Step 7: Run and test your app
At this point, your application should be complete. The next step is to run a quick manual smoke test.
Run the commands for add, list, complete, and delete to confirm that each feature behaves correctly.
Optionally, you can go further by asking Claude Code to generate unit tests for the application.
This gives you a simple automated way to confirm that the core functionality keeps working as the project evolves.
Step 8: Deploy your app (Optional)
Your app runs locally, which is enough for many use cases. If you want to share or host it, you have to pick a hosting provider. Railway is one of the easiest platforms to get started with. It offers a free tier, supports CLI deployments and full-stack apps, and requires very little configuration.
Start by creating an account and installing the Railway CLI.
Next, log in to your account:
This command opens your browser so you can authorize the CLI.
Once you are logged in, deploy the application by running:
The CLI scans your project files, compresses them, and uploads them to Railway for deployment.
After the deployment finishes, run the command below to open your deployment dashboard:
If you run into any issues, check the Railway documentation for additional guidance.
Wrapping up
You just built a working CLI app without writing the code manually. The real win is the approach. Set a clear context, validate the plan first, then build step by step while testing as you go. This pattern scales. You can use it for almost any project.
To keep improving, try small builds with Claude Code:
A budget tracker that reads a CSV and gives weekly summaries
A local search tool that indexes your notes folder
These help you get comfortable with the workflow while exploring different parts of Node.js.
To stay up to date with the latest commands and workflows on Claude Code, check out the Claude Code roadmap.
